MetaMask Wallet Explained: How to Set Up and Use It Safely
Introduction
MetaMask is one of the most widely used crypto wallets in the world – as of the end of 2025, it has more than 21 million monthly active users.
MetaMask is used to send transactions, store tokens, interact with dApps, purchase NFTs, and work with DeFi protocols. It is a simple and intuitive wallet, yet beginners often face fundamental questions such as how to use metamask and how to set up metamask correctly and securely.
The wallet is available both as a mobile application and a browser extension. It is a fully non-custodial wallet, meaning users are solely responsible for their private keys and access to funds. This makes it a powerful tool, but also one that requires a high level of personal responsibility.
In this guide, we will explain what MetaMask is, how does metamask work, how to use it safely, and which common issues users encounter most frequently.
Whether you are just starting your journey into Web3 or looking to structure your existing knowledge, this guide will help you avoid common mistakes and better protect your digital assets.
What Is MetaMask and What Does It Do?
MetaMask – это криптовалютный кошелек и одновременно инструмент для It enables connection to decentralized applications and functions as both a browser extension and a mobile app, allowing users to store tokens and interact with the Ethereum blockchain and other compatible networks.
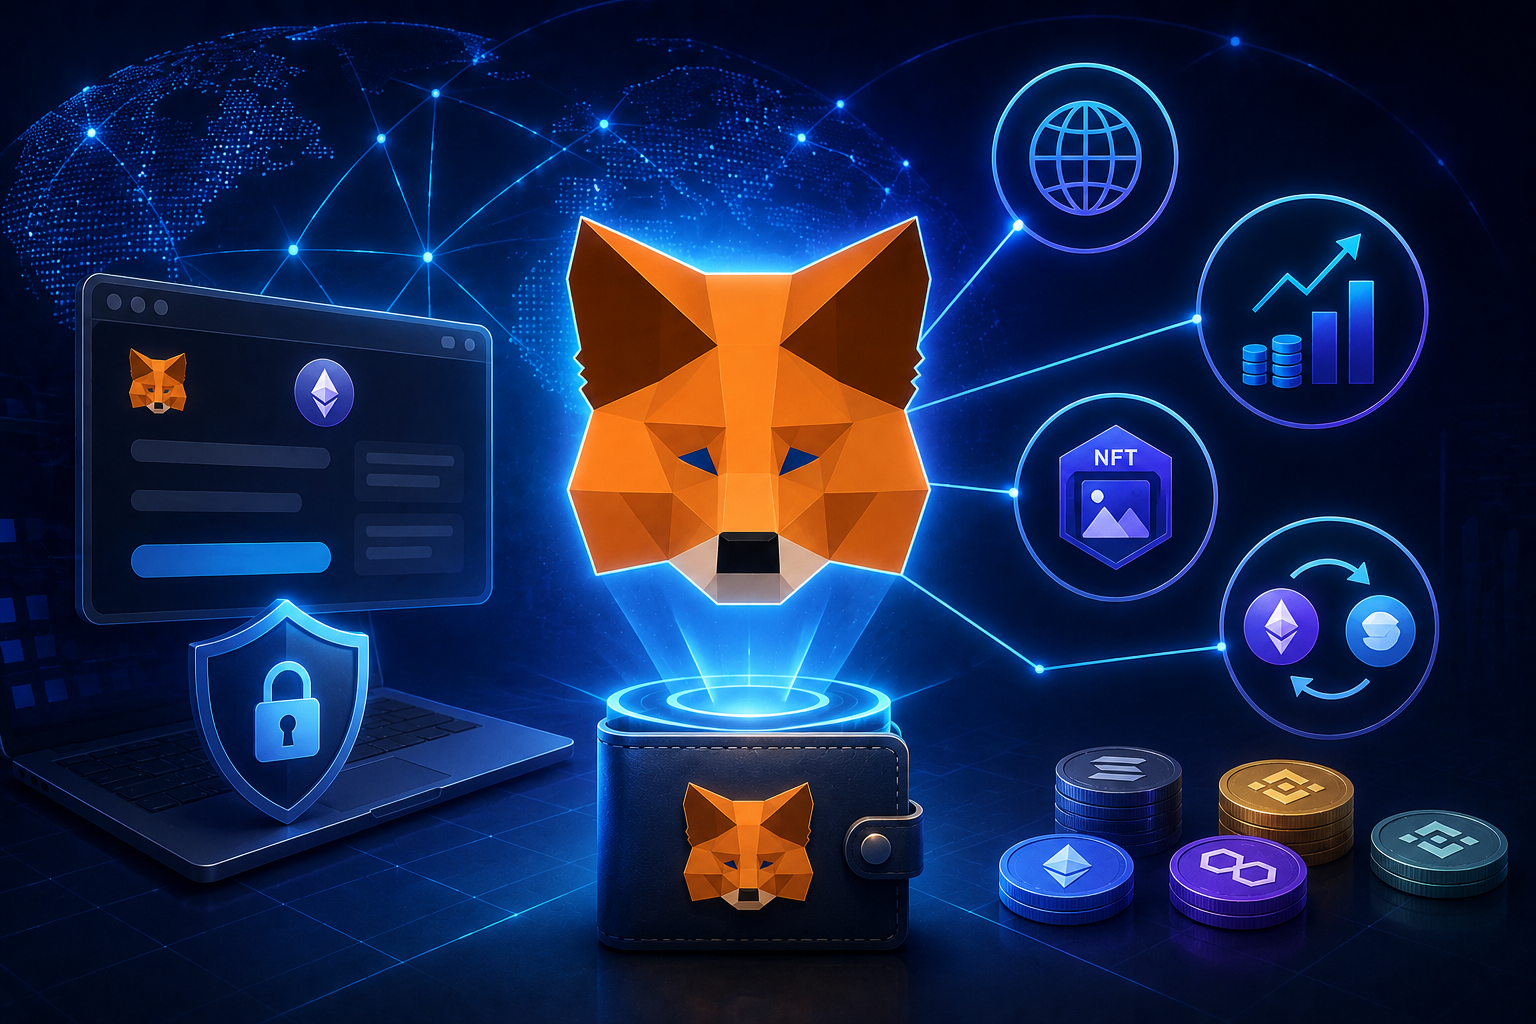
Answering the question what does metamask do, its core functions include:
- storing cryptocurrencies and tokens (Ethereum and compatible networks);
- managing NFTs (ERC-721 and ERC-1155 standards);
- connecting to DeFi platforms;
- interacting with DAOs;
- participating in Web3 games and metaverse environments.
MetaMask does not hold your funds “on its own.” It is neither an exchange nor a custodial service. Instead, it provides an interface for managing your private keys and signing transactions. That is why understanding how to use metamask wallet correctly is essential – full responsibility for security rests with the user.
MetaMask has become a standard tool for many participants in the ecosystem, as most dApps offer integration with it by default.
How Does MetaMask Work?
To use the wallet securely, it is essential to understand how it works. When you use the browser extension (and similarly in the mobile app), MetaMask acts as a bridge between your browser and the blockchain. It:
- generates a private key and a seed phrase;
- stores them locally on your device;
- allows you to sign transactions;
- broadcasts them to the network.
It is important to understand that the wallet does not store your coins inside the application. Your assets exist on the blockchain, and MetaMask simply provides access to manage them through your private keys.
Now let’s break down the key components in more detail.
Non-Custodial Wallet Model
MetaMask is a non-custodial wallet. This means that only you control your private keys. This is the key difference compared to a centralized exchange. There is no support team that can restore access if something goes wrong, no central server holding your funds, and no way to reverse a transaction once it has been confirmed.
This model provides full autonomy and control, but it also requires discipline and careful attention to security.
Private Keys and Seed Phrase
When creating a wallet, MetaMask generates a 12-word seed phrase. This is the most critical security element. For those learning how to set up metamask, the majority of mistakes happen at the stage of saving the seed phrase.
The seed phrase provides full access to your funds and allows you to restore the wallet at any time. For this reason, it must be stored offline. It should never be shared with third parties. Losing the seed phrase means permanently losing access to your assets.
Connecting to dApps
MetaMask allows users to connect to decentralized applications with a single click. When you visit a DeFi platform or an NFT marketplace, the website prompts you to connect your wallet. After you confirm, MetaMask:
- displays a signature request;
- shows the transaction details;
- broadcasts it to the network once approved.
This mechanism is what makes MetaMask a central tool within the Web3 ecosystem.
How to Set Up MetaMask Wallet Step by Step
Now let’s move to the most practical part and discuss how to setup MetaMask. Below, we’ll share a step-by-step guide that covers the key points.
Installing the Browser Extension
Let’s walk through installing the MetaMask browser extension – it’s a simple process that can be completed in just three steps.
- Go to the official MetaMask website.
- Select the version for your browser (Chrome, Firefox, Edge, etc.).
- Click “Install” and confirm the extension installation.
After installation, the fox icon will appear in your browser toolbar, and you’ll be ready to use it. Important: only download MetaMask from the official website. Phishing copies are one of the most common methods used to steal funds.
Creating a New Wallet
After installation, open the extension and choose to create a new wallet. This is the stage where users most often ask how to set up a metamask wallet. In practice, the process is straightforward.
Creating a wallet includes:
- setting a strong password for the device;
- generating a seed phrase;
- confirming the seed phrase by selecting the words in the correct order.
The password protects access to the extension on your specific device, while the seed phrase is the master key to all your funds.
Backing Up the Seed Phrase
This is arguably the most important step in the entire process. If you truly want to understand how to use metamask wallet securely, start with proper seed phrase storage.
The recommendations are simple:
- write the phrase down on paper and store it offline;
- do not save it in cloud storage;
- do not take screenshots;
- do not send it through messaging apps;
- never enter it on third-party websites.
Remember, MetaMask will never ask for your seed phrase via email or customer support. Never share it with anyone. Losing the phrase means losing access permanently, and sharing it with scammers means losing your funds.
How to Set Up MetaMask Wallet on Mobile
MetaMask is available not only as a browser extension but also as a mobile application for iOS and Android. If you are looking for how to set up metamask wallet on a smartphone, the process is largely similar to the desktop version.
- Step 1. Download the application. Go to the App Store or Google Play, search for the official MetaMask app, verify the developer and number of downloads, and install the application. As with the browser extension, always download the wallet only from official sources.
- Step 2. Create or import a wallet. After launching the app, you will be prompted to either create a new wallet or restore an existing one using a seed phrase. If you are setting up a wallet for the first time, the process mirrors the desktop version: create a password; generate a seed phrase; confirm the seed phrase. If you already have a wallet, choose the import option and enter your seed phrase. This will restore full access to your funds and synchronize your wallet across devices.
- Step 3. Configure security settings. The mobile version allows additional security features such as Face ID or Touch ID, a PIN code, and automatic locking. These features enhance device-level protection but do not replace proper offline storage of your seed phrase.
Once the wallet is installed and secured, you can move on to learning how to use it effectively.
How to Use MetaMask Wallet
Now that the wallet is installed, let’s answer the practical question: how to use metamask in everyday situations.
The main wallet functions include:
- Sending and receiving funds. To receive tokens: copy your wallet address → send it to the sender → wait for network confirmation. To send funds: click “Send” → enter the recipient’s address → specify the amount → confirm the transaction.
- Adding tokens. MetaMask automatically displays ETH, but some tokens need to be added manually by entering the contract address. This is a common situation for beginners who are just starting to use MetaMask.
- Connecting to dApps. To connect to a DeFi platform or NFT marketplace, follow these simple steps: Go to the dApp website → Click “Connect Wallet” → Select MetaMask → Confirm the connection. Each action requires signing a message or transaction. Always review the details carefully before confirming.
Gas Fees and Transactions in MetaMask
When sending funds for the first time, many users notice that an additional amount is deducted and wonder why. The answer lies in network fees – gas. In the context of how to use metamask wallet, it is important to understand that MetaMask does not set the fee itself. It simply displays the network gas required to process the transaction on the blockchain.
Gas is the payment for the network’s computational resources. It is paid to validators (or miners, depending on the network). The fee amount depends on:
- network congestion;
- the complexity of the operation;
- the selected confirmation speed.
In MetaMask, you can usually choose between lower fees (slower confirmation), medium, or higher fees (faster confirmation). Keep in mind that on Ethereum, fees can increase significantly during periods of high activity, such as NFT drops, DeFi liquidations, or market volatility. If you are learning how to use metamask, consider the following:
- gas fees are charged even if a transaction fails;
- interacting with smart contracts typically costs more than a simple ETH transfer;
- other networks (such as Polygon, BNB Chain, or Arbitrum) generally offer lower fees.
Issues may occasionally arise. For example, a transaction can remain pending if the selected gas fee is too low. In most cases, you can use the “Speed Up” option to increase the fee, “Cancel” the transaction, or resend it with a higher gas setting.
Common MetaMask Problems and Fixes
Even if you understand how does metamask work, users often encounter common issues. What are the most typical ones?
- Tokens are not displayed. Solution: manually add the token contract using the “Import Token” option.
- Network connection errors. In this case, check whether the correct network is selected and verify your RPC settings.
- Suspicious signature requests. Phishing websites frequently disguise themselves as popular dApps. Always review what you are being asked to sign before approving anything.
If you want to safely master how to set up metamask wallet, follow these basic rules:
- do not click on unknown links;
- verify the authenticity of the websites you interact with;
- never confirm unclear or suspicious transactions;
- never enter your seed phrase online under any circumstances.
Remember: if you forget your password but still have your seed phrase, you can restore the wallet. However, if you lose your seed phrase, access cannot be recovered.
MetaMask vs Other Crypto Wallets
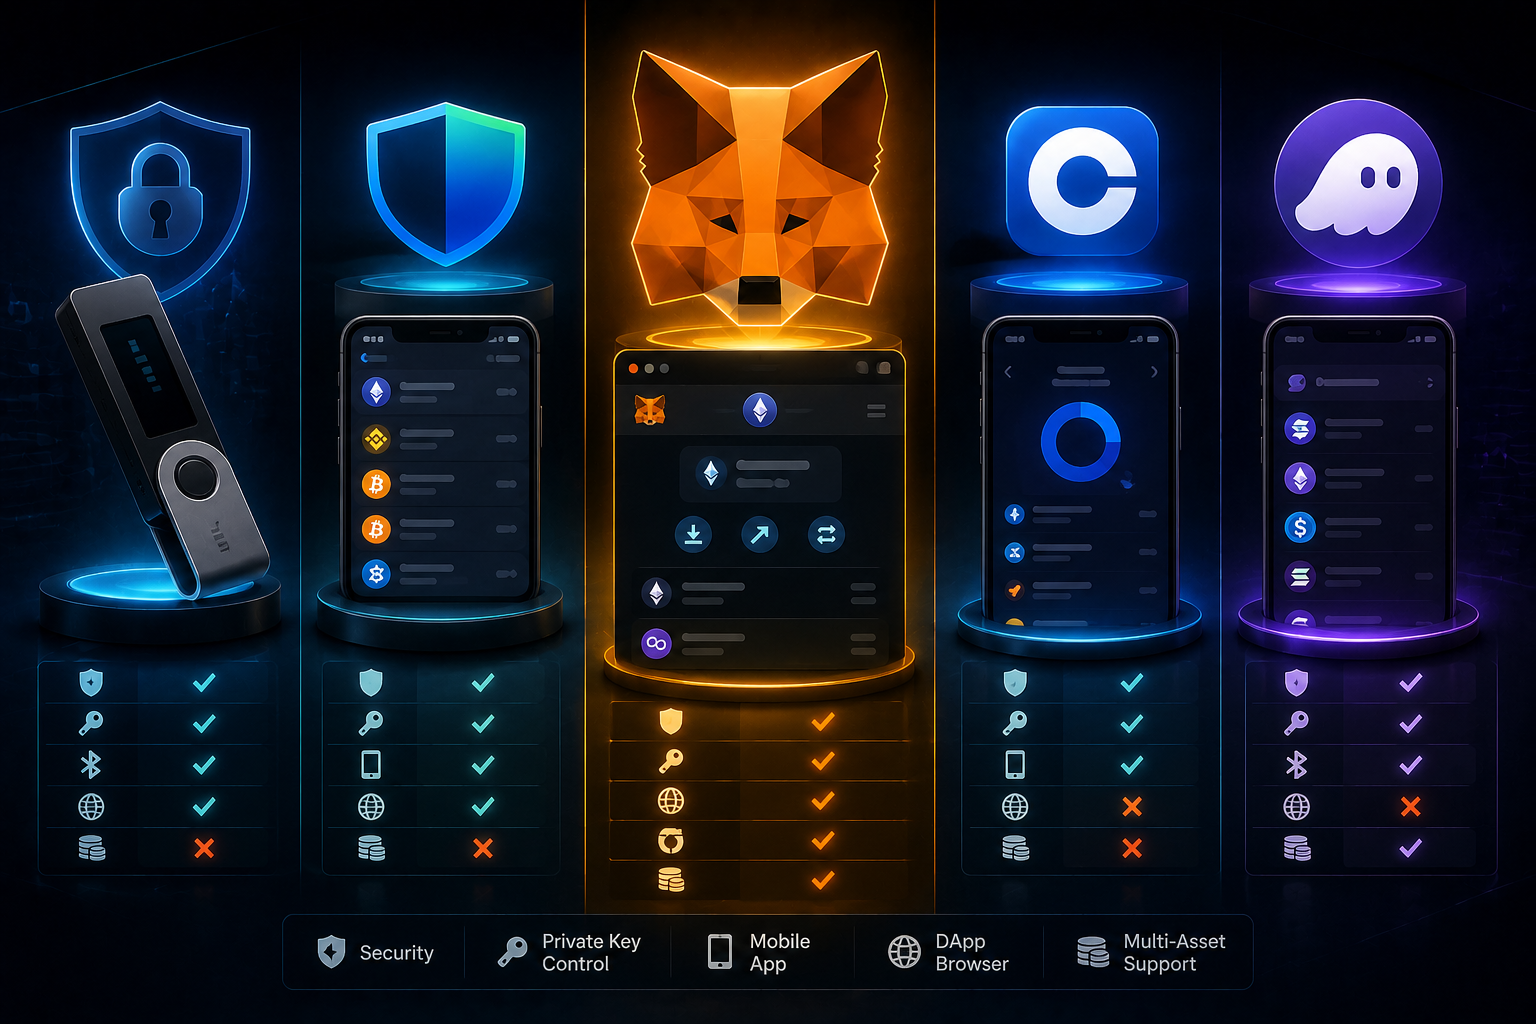
MetaMask is often referred to as the “Web3 standard,” but it is not the only wallet available. To determine whether it suits your needs, it is important to compare it with alternatives such as custodial exchange wallets, hardware wallets, and multichain platforms.
- MetaMask vs. custodial wallets (exchanges). The main difference lies in control over funds. With MetaMask, you own the private keys, there are no intermediaries, and you bear full responsibility for security. With an exchange wallet, the platform holds the private keys, your account can be restricted or frozen, but access can typically be restored through customer support. If your goal is active interaction with dApps, understanding how does metamask work reveals its flexibility and compatibility with Web3 platforms. However, for storing large amounts without frequent transactions, an exchange account or hardware wallet may feel more convenient.
- MetaMask vs. hardware wallets. Hardware wallets such as Ledger or Trezor provide a higher level of security because private keys are stored offline. MetaMask can be connected to a hardware wallet, which is often considered an optimal solution for users who actively engage with DeFi but want enhanced protection.
- MetaMask vs. multichain wallets. Some modern wallets support dozens of networks out of the box. MetaMask was originally focused on Ethereum and compatible networks, but today it supports a wide range of EVM-based chains. If your primary focus is the Ethereum ecosystem and Web3 applications, MetaMask remains one of the most versatile and widely integrated options.
Conclusion
MetaMask is not just a browser extension, but a full-featured gateway to the Web3 ecosystem. Understanding how to set up metamask and how to use metamask wallet is a foundational step for interacting with DeFi, NFTs, and decentralized applications.
Key points to remember:
- MetaMask is a non-custodial wallet;
- the seed phrase is the most critical security element;
- all transactions are irreversible;
- full responsibility for protecting funds lies with the user.
By following basic security practices and carefully reviewing every transaction, MetaMask remains one of the most convenient and functional wallets for working within the Ethereum ecosystem and other EVM-compatible networks.
More Questions
MetaMask is safe when the seed phrase is stored securely and users interact cautiously with dApps.
No. Without the seed phrase, access cannot be restored.
No. Funds exist on the blockchain. MetaMask provides access through your private keys.
Install the extension, create a wallet, securely store the seed phrase offline, and never share it with anyone.
It allows you to store tokens and connect directly to Web3 applications from your browser or mobile device.
Published Articles
Crypto On-Ramps and Off-Ramps Explained: How Fiat and Crypto Move In and Out
Entering the world of digital assets often feels like trying to cross...
 Popular
Bitcoin Pizza Guy: The Story Behind the First Real Bitcoin Purchase
Introduction The history of Bitcoin is full of dramatic ups and downs,...
Crypto Basics Explained: A Beginner’s Guide to Cryptocurrency and Trading
Introduction The world of finance is changing right before our eyes. Just...
 Popular
Uniswap Explained: What It Is, How It Works, and How to Use the UNI DEX
Introduction Decentralization and decentralized platforms that have emerged in recent years have...
 Popular
Bitcoin Lightning Network Explained: What It Is and How Bitcoin Lightning Works
Introduction In the world of cryptocurrency, transaction speed and costs have always...
How Bitcoin ATMs Work: A Complete Guide to Using Crypto ATMs
Introduction Millions of people around the world use cryptocurrencies today – at...